Uplighting on a Budget: The Look for Less
Here’s some good news for anyone watching their wedding fund: budget uplighting can still make a plain room look like a magazine spread. You don’t need a truckload of fixtures to get that warm, colorful glow. You need the right number of lights, placed in the right spots, doing the most work for the least money. I’ve lit rooms all over Livonia, and the secret is almost never “buy more lights.” It’s “be smarter with the ones you have.” Let me show you exactly how that works.
In this article
What uplighting actually costs
Let’s talk numbers first, because that’s what everyone really wants to know. A single quality uplight rental runs somewhere between $25 and $50 per fixture for the night. So a room lit with 12 fixtures usually lands in the $300 to $500 range. That’s the honest ballpark for Metro Detroit, and I’d be suspicious of anyone quoting wildly less.
Now here’s where budget uplighting gets interesting. Most couples assume they need one light every few feet around the whole room. They don’t. A mid-size Livonia reception hall looks fantastic with 8 to 12 well-placed fixtures instead of 20. That single choice can cut your lighting bill nearly in half without cutting the wow.
Why does that work? Because color washes across a wall. One light doesn’t just glow in one spot — it spreads a wide fan of color that blends into the next one. So the gaps between fixtures disappear once the room goes dark. Your eye reads it as a solid, glowing wall, not a row of separate lamps.
How fewer fixtures still fill a room
This is the whole game, so let me break it down. Uplights are strongest when they hit a flat, light-colored surface. A white or cream wall bounces the color back and makes it feel twice as bright. A dark wood-paneled wall soaks it up. Knowing that, you place your limited fixtures where they’ll bounce the most.
Think about it like painting. You wouldn’t dab tiny dots all over a wall — you’d roll broad strokes. Uplighting works the same way. A few fixtures throwing wide color beat a dozen crammed together throwing narrow ones. So spacing your lights 6 to 8 feet apart along the main walls gives you that unbroken glow with far fewer units.
Here’s a real trick I lean on: aim a light into a corner. Corners catch color from two walls at once, so a single fixture there does double duty. Put one in each corner of the room and you’ve framed the whole space before you’ve placed a single light along the walls. That’s how you stretch a small kit a long way.
Ceiling height helps you, too, and it’s free. Tall rooms let the color climb higher up the wall, so each fixture fills more visual space and the room reads as fuller with fewer lights. If your Livonia hall has high ceilings, you’ve already got a head start on a big look for a small kit. Low, flat ceilings need a touch more care, but even then, aiming your lights up a long, light wall gets you most of the way there without spending another dollar.
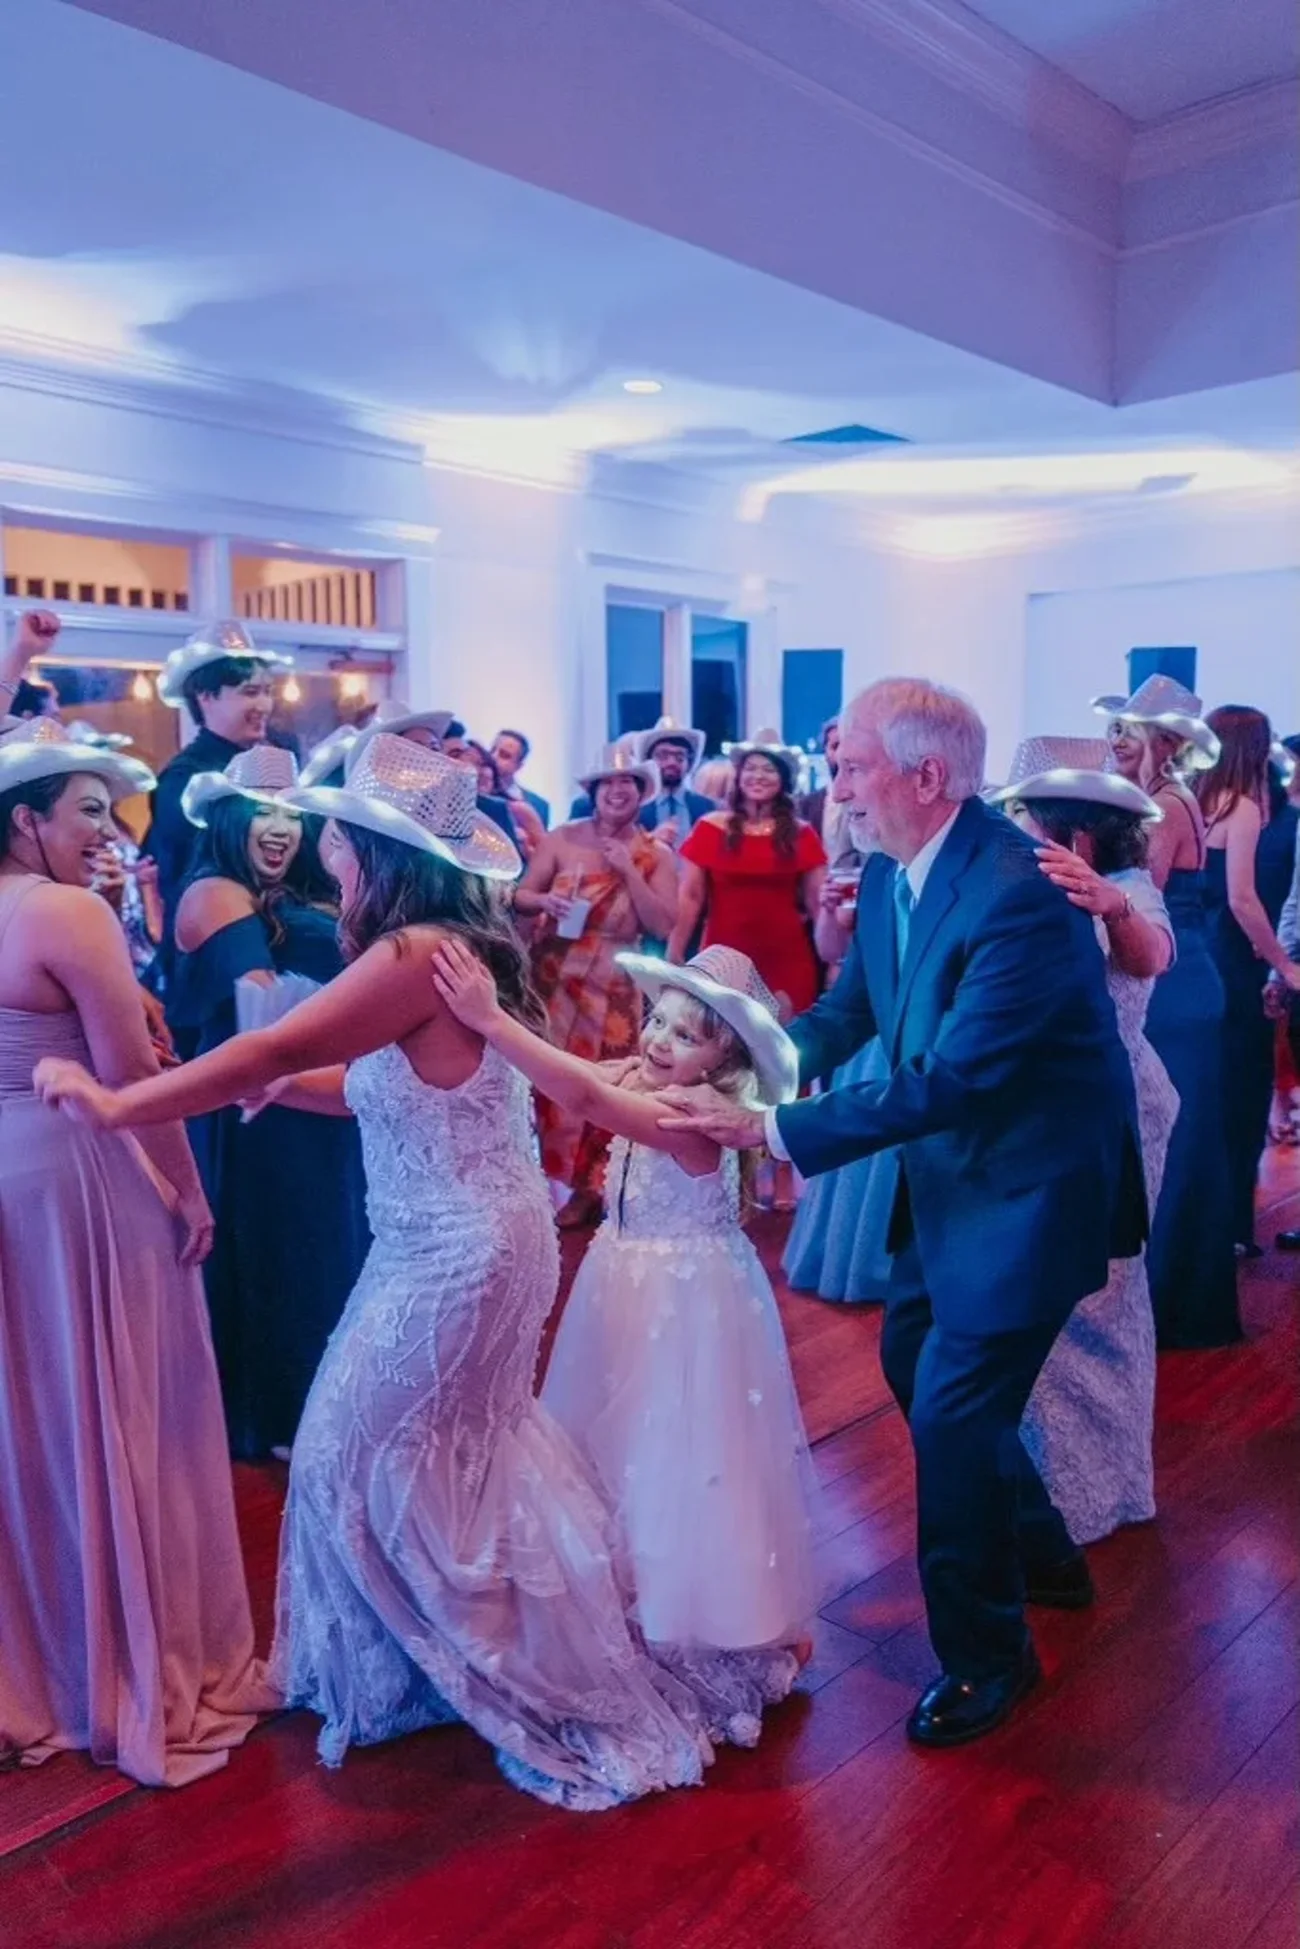
See how full that room looks? That’s not a huge rig. That’s a handful of fixtures aimed with intention. According to The Knot’s uplighting guide, smart placement matters far more than sheer fixture count when you’re trying to transform a space on a budget.
Where to place lights for the biggest impact
Placement is where the money hides. Get it right and 10 lights look like 25. Get it wrong and 25 look like a mess. So here’s my priority order when the budget is tight.
First, the head table and cake. These are your photo zones. Two or three fixtures here give you a glowing backdrop for the shots you’ll frame forever. If I only had four lights in the whole room, this is where the first two would go.
Second, the longest visible wall. Guests spend the night facing one main wall — usually behind the head table or the dance floor. Wash that one and the whole room feels dressed. Third, the entrance. A pair of lights framing the doorway sets the mood the second people walk in, and first impressions stick.
Notice what’s missing from that list? The corners nobody looks at, the service hallway, the spots behind tall centerpieces. Skip them. Those are the fixtures budget couples waste money on, and no guest ever notices they’re gone.
You’re not lighting a room. You’re lighting the three or four places people will actually look and photograph — do those well and the rest takes care of itself.
Key takeaway: Budget uplighting isn’t about buying fewer, weaker lights — it’s about aiming a small kit at the spots that matter most. Head table, main wall, and entrance first. Wide color spacing and corner placement make 10 fixtures look like a full room.
Colors that look expensive for cheap
Color choice can make a cheap setup look pricey or make a pricey setup look cheap. Wild, clashing colors read as a school dance. Soft, single-tone washes read as a luxury wedding. And here’s the best part: the classy option is usually the free one, since it costs the same to program any color.
My go-to for an elegant look on a budget is a warm amber or soft blush across the whole room. One color, everywhere, no chaos. It flatters skin tones in photos and makes even a basic hall feel intentional. Deep colors like navy or emerald look rich too, but they eat more light, so you’ll want your fixtures closer together — which can nudge the cost up.
Here’s what a lot of couples miss: mixing too many colors is what actually makes a room look cheap, not the number of lights. I’ve seen a 10-light room in a single warm tone outclass a 24-light room flashing six colors at once. Restraint is free, and it almost always wins. If you want the room to feel calm and expensive, pick one color and commit.
What you can skip without missing it
Part of a smart budget is knowing what to cut. Some uplighting add-ons sound great in a sales pitch but add little to the actual night. So let me save you some money.
Skip color-changing programs. Lights that cycle through the rainbow during dinner are distracting and scream “rental package.” A steady, single wash looks far more polished and costs nothing extra. Skip lighting the ceiling unless it’s a special feature — guests look at eye level, not up.
You can also skip matching every fixture to your exact Pantone swatch. Uplights render color a little differently than paper or fabric, so “close” is genuinely fine. Chasing a perfect match can lead a rental company to upsell you into premium fixtures you don’t need. For a fuller picture of how color and glow come together, my room lighting service page walks through the looks I set up most often.
Should you rent, DIY, or hire it out?
You’ve got three roads here, and the cheapest upfront isn’t always the cheapest overall. Let’s weigh them honestly, because I’d rather you spend smart than spend twice.
DIY battery lights from an online shop can look tempting at $20 each. But the cheap ones often throw a weak, uneven color and die halfway through the night. If they fail during your first dance, there’s no fixing it. So DIY can work for a tiny gathering, but it’s a gamble for a full reception.
Renting fixtures yourself gives you better gear for a fair price, but then you’re placing and programming them the day of your wedding — not exactly how you want to spend that morning. Bundling uplighting with your DJ is usually the sweet spot. The lights are already coming, someone who does this weekly aims them, and there’s no extra delivery fee. That’s how most of my Livonia couples get the look without the hassle. You can meet your DJ and we’ll fold the lighting right into your night.
Planning it for your Livonia venue
So how do you tie all this together for your own day? Start with your room. Walk your Livonia venue and note the light-colored walls, the corners, and the two or three spots you’ll photograph most. That quick walk tells you exactly where a small kit should go.
Then set a realistic number. For most halls around Livonia, 10 to 12 fixtures in one warm color hits that full, glowing look for a fair price. Wedding-budget experts at Zola’s planning hub point out that lighting is one of the highest-impact, lowest-cost upgrades you can make — and I agree completely. Few things change a room this much for this little.
The goal was never to own the most lights. It’s to walk into your reception and feel like the room was made for you. A handful of fixtures, one beautiful color, and a little planning gets you there. If you’re marrying close to home, our Livonia wedding guide walks through the whole night start to finish. And if you want more ideas before the big day, browse more wedding tips anytime — and when you’re ready to see how the glow could look in your space, I’m one message away. Big impact doesn’t have to mean a big bill.